🚨 Attention shoppers!

🚨 Attention shoppers!

🚨 Attention shoppers!

🚨 Attention shoppers!

Search
Close this search box.
Search
Close this search box.

Buy & Download

Download immediately after your purchase

QUESTIONs? Help With The Setup

support@msofficestore.uk

Live Chat

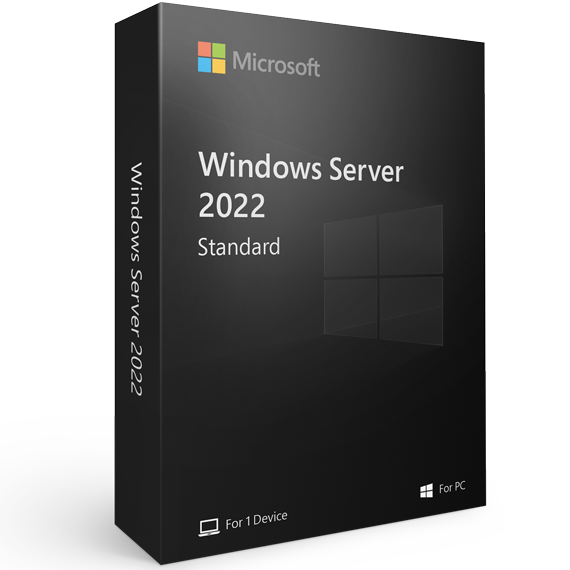
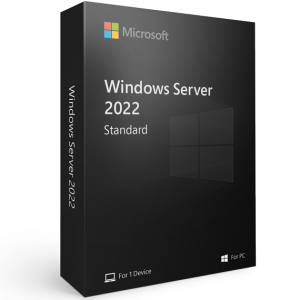
Microsoft Windows Server 2022 Standard

Windows Server 2022 iso download, Install, and Activate

Setting up Windows Server 2022 Standard might feel intimidating if you’re new to IT tasks, but with the right guide, it’s manageable even for beginners.

This step-by-step guide will walk you through the Windows Server 2022 ISO download, installation, and activation process with ease.

Step 1: Check System Requirements

Before starting, ensure your system meets the minimum hardware requirements for Windows Server 2022 Standard. Below is a breakdown of what you’ll need:

General System Requirements

These specifications apply to most versions of Windows Server 2022:

Component

Requirement

Processor

64-bit processor with a clock speed of 1.4 GHz or higher

RAM

Minimum 512 MB (2 GB or more recommended)

Hard Disk

Minimum 32 GB of free space

Network Adapter

Gigabit Ethernet adapter (10/100/1000 BASE-T)

Monitor

Super VGA (1024×768) or higher resolution monitor

Tip: These are the minimum requirements, but for better performance—especially if you plan to run server roles—use more robust hardware.

Specific Requirements for Windows Server 2022 Standard

Windows Server 2022 Standard is tailored for medium to large enterprises, so slightly higher specifications are recommended:

Component

Requirement

Processor

64-bit processor with a clock speed of 1.4 GHz or higher (2 GHz recommended)

RAM

Minimum 2 GB (16 GB or more recommended for smooth operation)

Hard Drive

Minimum 32 GB (SSD recommended for better performance)

Network Adapter

Gigabit Ethernet adapter (10/100/1000 BASE-T)

Monitor

Super VGA (1024×768) or higher resolution monitor

Note: The exact requirements may vary based on your planned server roles, workloads, and applications. If you’re planning to use features like virtualization or containers, consider additional RAM and processing power.

Step 2: Downloading Windows Server 2022

The first step to setting up Windows Server 2022 Standard is downloading the software. Check your email for the link to the download. Can’t find the email? Don’t worry—you can also use the following direct link:

Download Windows Server 2022

Once you’re on the download page, follow these instructions:

  1. Scroll down until you find the section titled Get started for free.
  2. Click the link labeled Download the ISO to access the installation file.
  3. Follow the on-screen instructions to save the ISO file to your computer.

Where to Download Windows Server 2022 Standard

The method you use to download Windows Server 2022 Standard depends on your license type and deployment needs:

  • Official Microsoft Website: Ideal for trial versions or purchasing a single license.
  • Microsoft Volume Licensing Service Center (VLSC): For organizations with corporate or volume licenses.
  • Azure Marketplace: For users deploying Windows Server 2022 in a cloud environment on Azure.

To ensure authenticity and security, always download Windows Server 2022 directly from Microsoft’s official sources. If you have a product key, use the link provided in your purchase confirmation email.

Step 3: Preparing Your ISO File

An ISO file contains all the necessary components for installing Windows Server 2022. To begin the installation process, you’ll need to transfer the ISO file to a bootable device—most commonly a USB thumb drive. Ensure the thumb drive meets the following criteria:

  • File System: Formatted as FAT32
  • Capacity: At least 8 GB.

Checking if Your Thumb Drive is FAT32 Formatted

Follow these steps to verify the file system of your thumb drive:

  1. Insert the thumb drive into a Windows computer.
  2. Open File Explorer and locate the thumb drive under the This PC section.
  3. Right-click the drive and select Properties.
  4. On the General tab, check the File System field to see if it’s labeled as FAT32.

If the drive is already formatted as FAT32, you’re ready to proceed. If not, follow the steps below to format it.

Formatting a Thumb Drive as FAT32

Important: Formatting will erase all data on the thumb drive. Be sure to back up any important files before proceeding.

  1. Plug the thumb drive into your Windows computer and open File Explorer.
  2. Locate the drive under This PC, then right-click it and select Format from the context menu.
  3. In the Format window:
    • Choose FAT32 (Default) from the File System dropdown menu.
    • Check the Quick Format box to speed up the process.
  4. Click Start to begin formatting. The process should complete in a few seconds.

Once the thumb drive is formatted as FAT32, it’s ready to receive the ISO file. You’re now prepared to create a bootable installation media for Windows Server 2022.

Transfer the ISO file to your prepared thumb drive and set up your system to boot from it. Let’s move on to installation!

Step 4: Installing Windows Server 2022

The installation process for Windows Server 2022 is straightforward, but minor challenges can arise. Here’s a detailed guide to help you smoothly navigate through this step.

Booting From Your USB Drive

  1. Insert your prepared USB thumb drive with the ISO file into the target server.
  2. Power on the server.
    • If the server has no existing operating system, it should automatically boot from the USB drive and launch the installation wizard.
    • If the server does not boot from the USB drive, you may need to adjust the boot order manually.

Changing the Boot Order

If your server doesn’t boot from the USB drive, you’ll need to modify the BIOS or UEFI settings. While exact steps vary by hardware manufacturer, here’s a general guide:

Example for Intel-Based Servers:
  1. Ensure the server is powered off. Insert the USB drive.
  2. Turn the server on and immediately press F2 (or the appropriate key for your server) to enter the system BIOS.
  3. Navigate to Boot Maintenance Manager or a similar option in the BIOS menu.
  4. Select Change Boot Order or Boot Options.
  5. Use the arrow keys to highlight the USB drive and press Enter to set it as the primary boot device.
  6. Save changes and exit by pressing F10. The server will reboot and start the installation process.

Installing Windows Server 2022

Once the server boots from the USB drive, the installation wizard will guide you through the process.

  1. Select Preferences: Choose your language, time format, and keyboard layout.
  2. Installation Type:
    • Select Custom Installation for a fresh setup.
    • Choose Upgrade only if you are updating an existing system.
  3. Partitioning:
    • For a clean install, create a new partition on the disk or select an existing partition.
    • Format the partition if necessary and click Next.
  4. File Copying and Setup:
    • The installer will copy files, install features, and configure the system automatically.
    • This process may take several minutes.
  5. Administrator Setup:
    • Create a username and password for the administrator account when prompted.

Post-Installation Recommendations

After completing the installation:

  • Update the System: Install the latest updates to ensure optimal performance and security.
  • Install Drivers: Ensure all hardware drivers are up to date.
  • Configure Security Settings: Set up firewalls, enable security features, and secure remote access.
  • Assign Server Roles: Use the Add Roles and Features Wizard to configure the server’s intended roles and features.

Step 5: Activating Windows Server 2022

The final step in setting up your server is activating your copy of Windows Server 2022. You’ll need your Genuine Microsoft Product Key to complete this process. If you don’t yet have a product key, you can get yours here.

Activation Steps

Follow these steps to activate your Windows Server 2022 installation:

  1. Open Command Prompt as Administrator:
    • Type CMD into the search bar on your server.
    • Right-click the Command Prompt app and select Run as administrator.
  2. Enter the Activation Command:

In the Command Prompt, type the following command, replacing the Xs with your product key:
bash
Copy code
Dism /online /Set-Edition:ServerStandard /AcceptEula /ProductKey:XXXXX-XXXXX-XXXXX-XXXXX-XXXXX

  • Press Enter to execute the command.
  1. Confirm Activation:
    • After running the command, your copy of Windows Server 2022 should activate successfully.

Need a Product Key?

If you haven’t purchased a product key yet, you can get it here.

Need Help?

If you encounter any issues during activation or any other stage of the process, don’t hesitate to reach out to our support team. We’re here to assist you with fast and reliable solutions!

With activation complete, your Windows Server 2022 is fully operational and ready to handle your workloads. Enjoy the enhanced features and security of this powerful server platform!

Frequently Asked Questions

Windows Server 2022 Standard is available through several purchasing options. One of the easiest ways is to buy a product key here. Once you have your key, you can download the ISO file and proceed with the installation and activation.

A full version of Windows Server 2022 is not available for free permanent use. However, Microsoft offers several options to explore the product:

  • 180-Day Trial: Evaluate Windows Server 2022 with a fully functional trial version.
  • Free Virtual Labs: Test and learn features through Microsoft’s training environments.
  • Student Licenses: Eligible students can access Windows Server through the Azure for Students program.

Absolutely! Windows Server 2022 can be installed on a virtual machine (VM) and is supported by popular hypervisors such as:

  • Hyper-V
  • VMware vSphere
  • Oracle VirtualBox

To install Windows Server 2022 on a virtual machine, download the ISO file, create a new virtual machine in your chosen hypervisor, and configure it for installation.

Leave a Reply

Your email address will not be published. Required fields are marked *